Installation
CAUTION: Any connection must always be secured with all delivered screws. Only use the screws provided in the package.
Manual Swing Arm Bundle Q2M
To install the Manual Swing 2G with part D, proceed as follows:
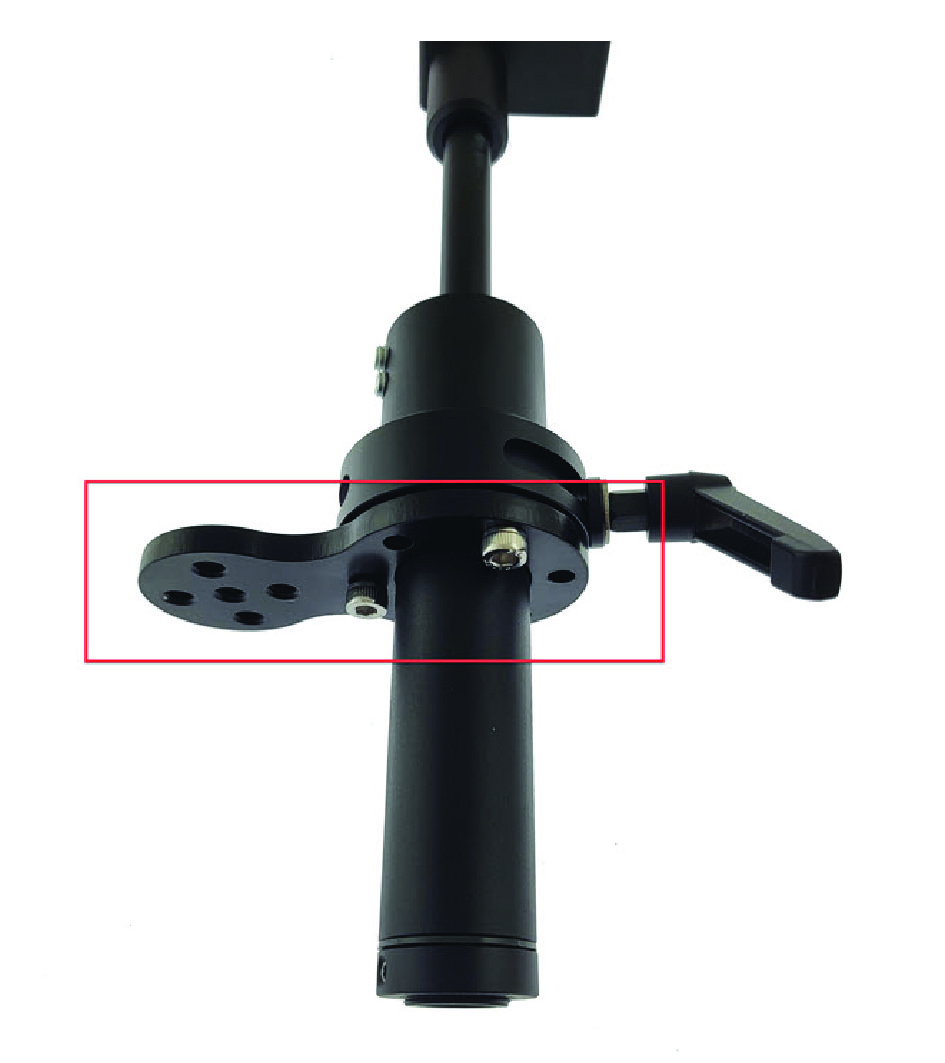
- Slide D2 over part A and attach it with the 2 delivered screws.

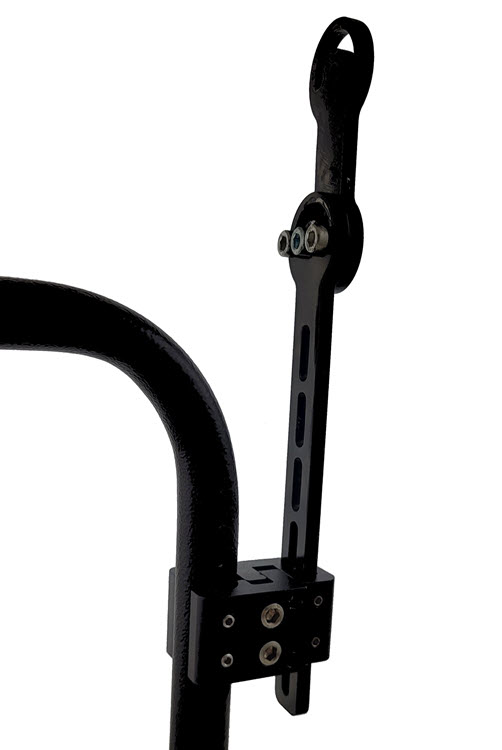
- Place part D1 left or right on the wheelchair and secure it firmly.Note: For optimal installation, mount part D1 with the insert for the square bracket to the outside of the wheelchair.
- Place and secure part D3 in part D1.
- Place part D4 and/or D5 on part D3, depending on how you want to place the
arm.
Figure 1. Example  Note: Place it at the estimated optimal position for the user, but don't tighten the screws too much at this point. You can do so in Finetuning.Note: Other configurations can be made, depending on the placement. If needed, additional mounting parts can be ordered at mo-vis.
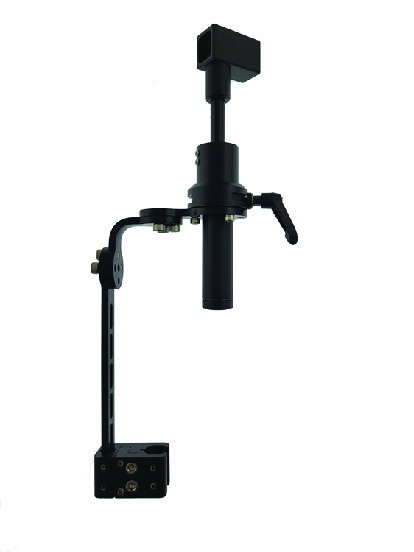
 - Attach D4 or D5 on to D2 with the delivered screws.
Figure 2. Example 
The Manual Swing is now mounted firmly on the backside of the wheelchair.
Finetuning
Now, further tweaking of the Manual Swing 2G might be necessary to find an optimal position for the user.
- Make sure that the arm is in the optimal position for the user
- Make sure that the user can operate the arm and the mounted device as required
- Make sure that you have found a robust and reliable position
If you have found an optimal position, tighten all the screws, so that you have a stable position.
It is possible that you want to shorten the arm. You can do so with a hacksaw. Make sure you place part B3 back on the arm afterward.
Note: It is best to shorten the arm when it is not in a mounted position.